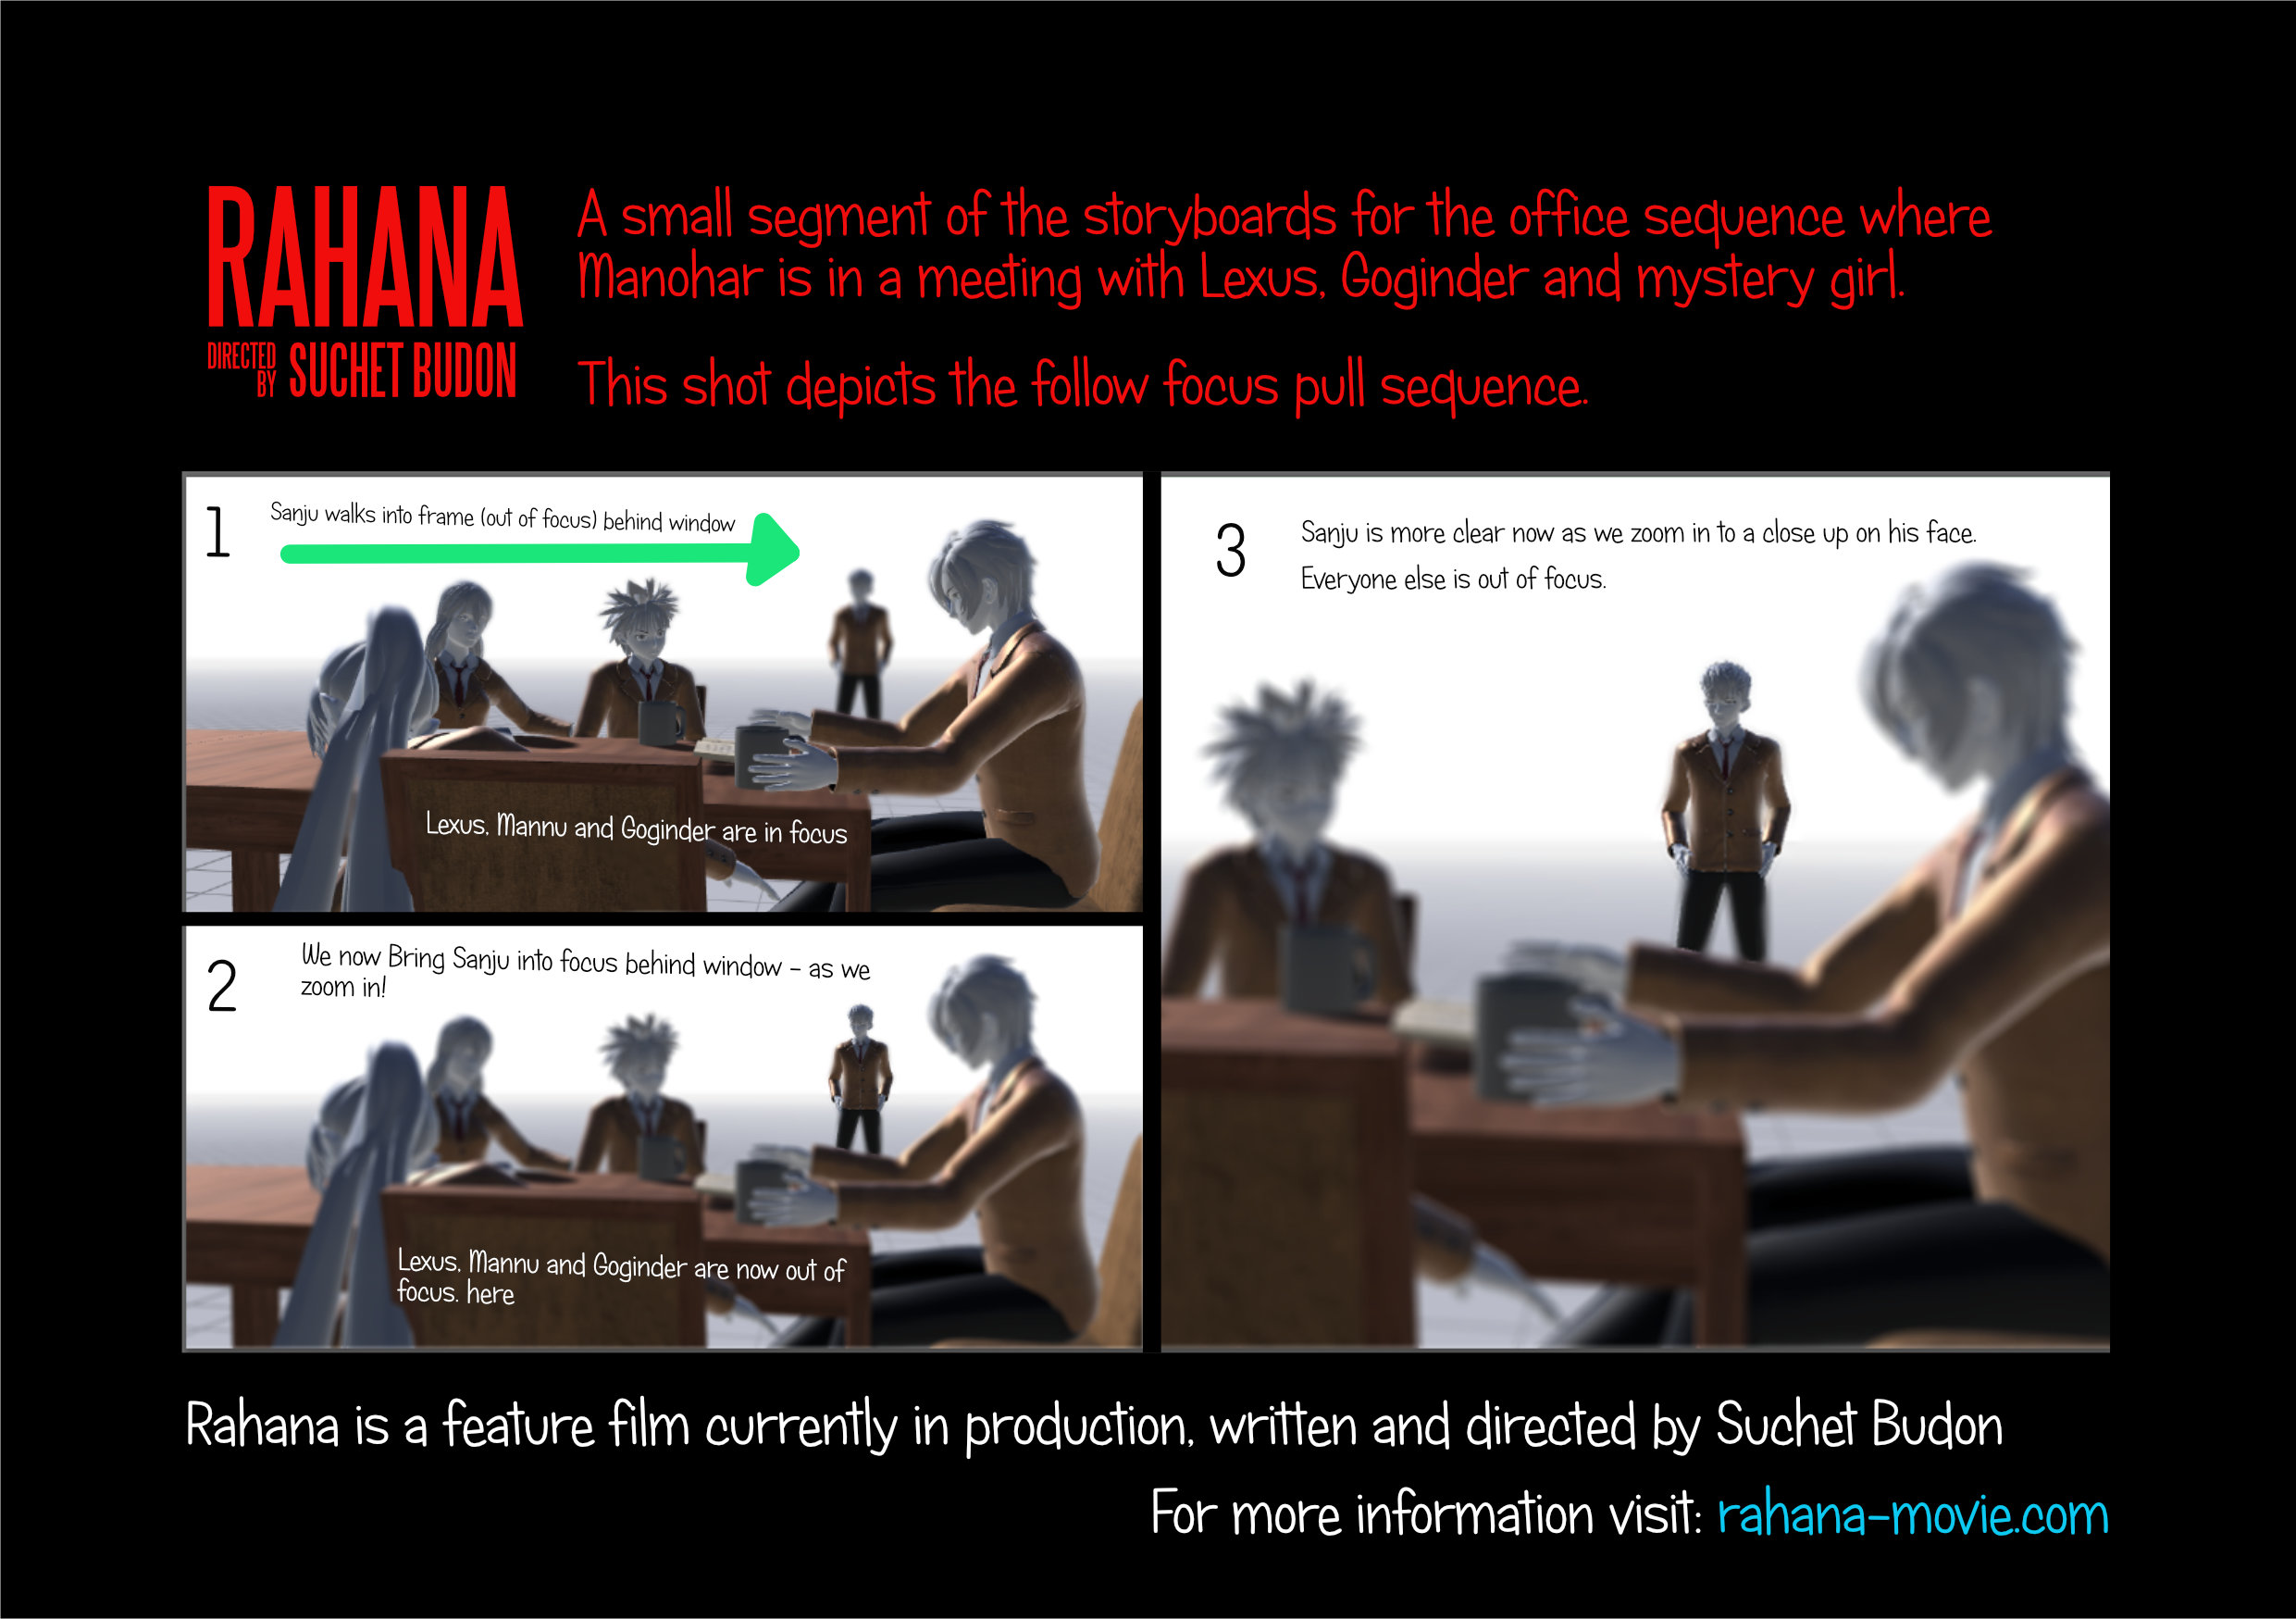
I have been working on preparing script and storyboard for when we continue filming RAHANA in April 2021. This is a small segment portraying part of the tense office scenes which involves the protagonist signing a book deal to publish his thriller novel. You can also skip this article and go straight to the anamorphic lens flare filter tutorial.
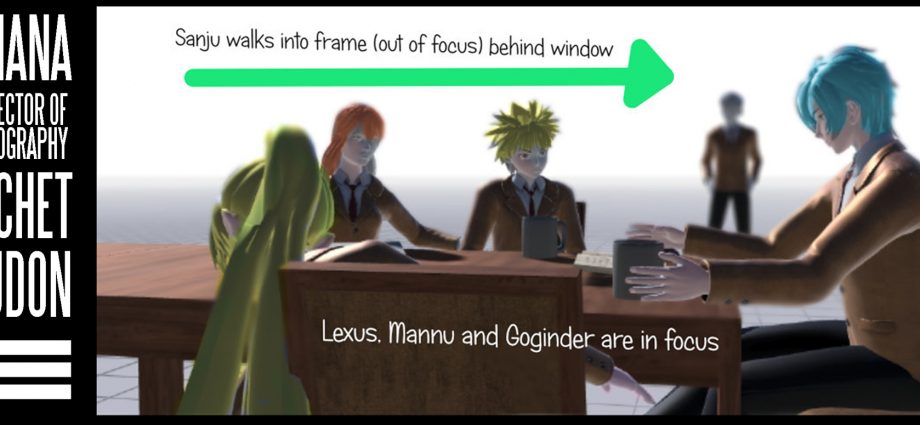
I normally storyboard action scenes out to make complex actions and choreography easy to understand for the actors, it’s very rare that I will do it for a scene of pure dialogue, however, this meeting scene has a lot of physical movement (although not fast action) it still has some complex camera movements and precise movements and even though it can be easily explained, it makes things easier and quicker to show the cast and crew what I am visualizing in storyboards (and it’s fun!).
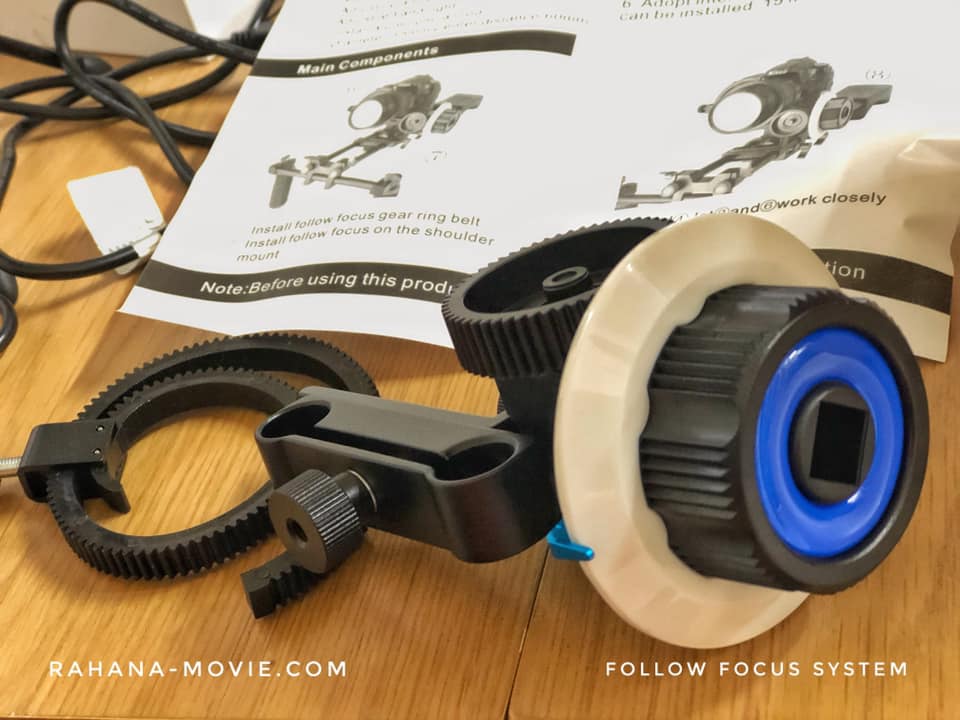
This scene will also have some cool follow focus effects in it – I’ve used follow focus before however, it was just for learning and practice, however in this scene there is a need for it in terms of the story and plot and I’ll be using the wonderful follow focus gadget displayed here.
I am also cutting some lines into some lens filters to create lens flares, these will give that beautiful cinematic lens flare in some of the sequences. I love the way some Hollywood movies use anamorphic lenses to do this, I could have easily got some beautiful anamorphic lenses (which I may do for THE SENSEI) however on this shoot because most of my footage has been filmed in a different aspect ratio, I felt it wasn’t practical to switch to an anamorphic some scenes.
Filming on RAHANA is set to start again in April 2021.
Anamorphic Lens Filter tutorial –
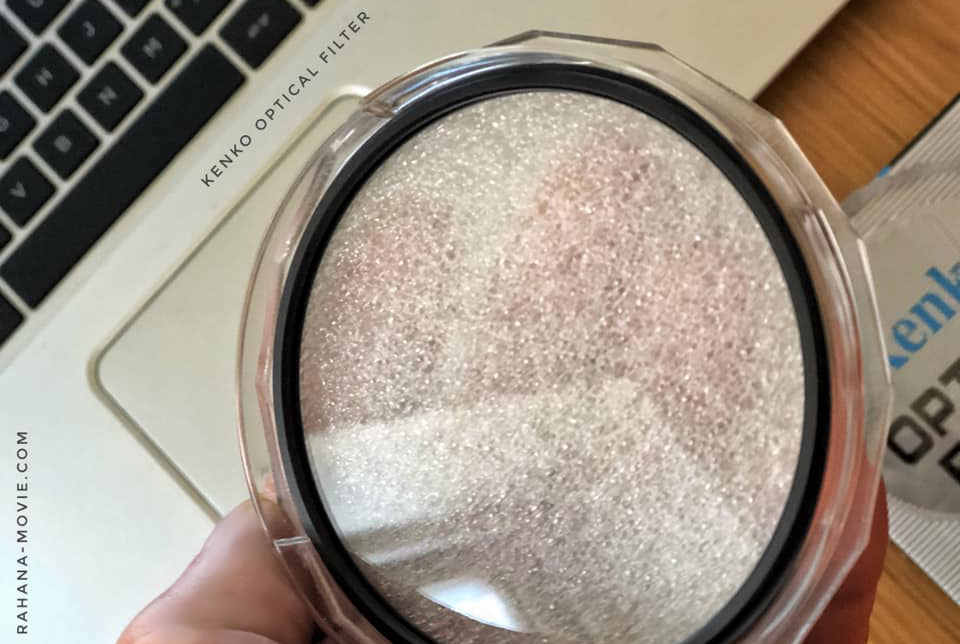
It’s a very easy process to create a filter that produces anamorphic-styled lens flares. This is a tutorial on how I am going to create anamorphic styled lens flares using a simple filter from Kenko (About £5 on ebay). Don’t buy anything too expensive as you will be cutting lines into it using a blade.
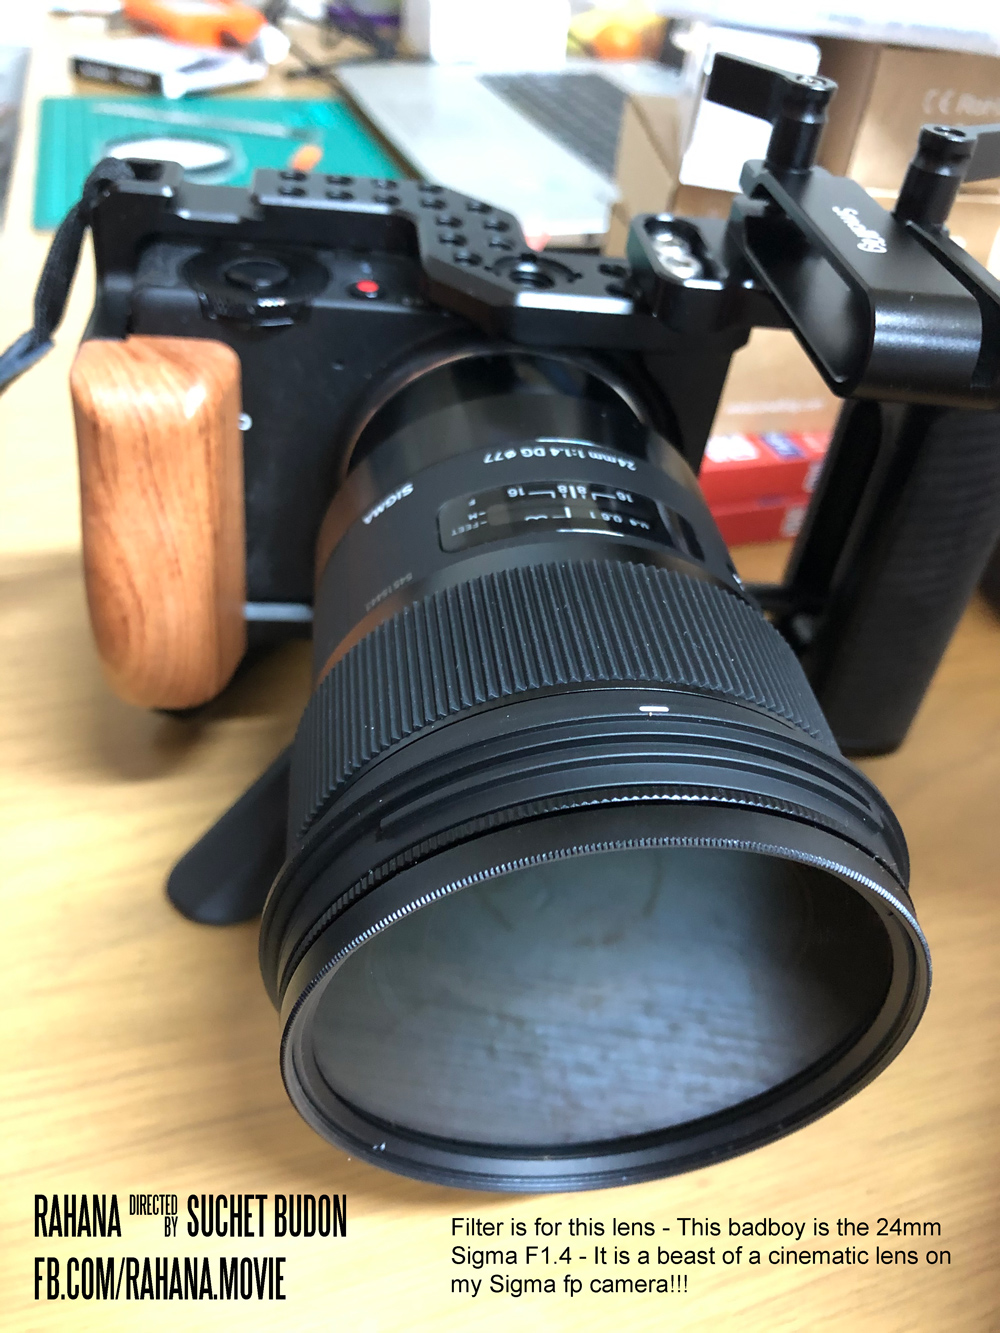
I have done this on a filter the width of 77mm which will fits on my 24mm F1.4 Sigma fp lens.
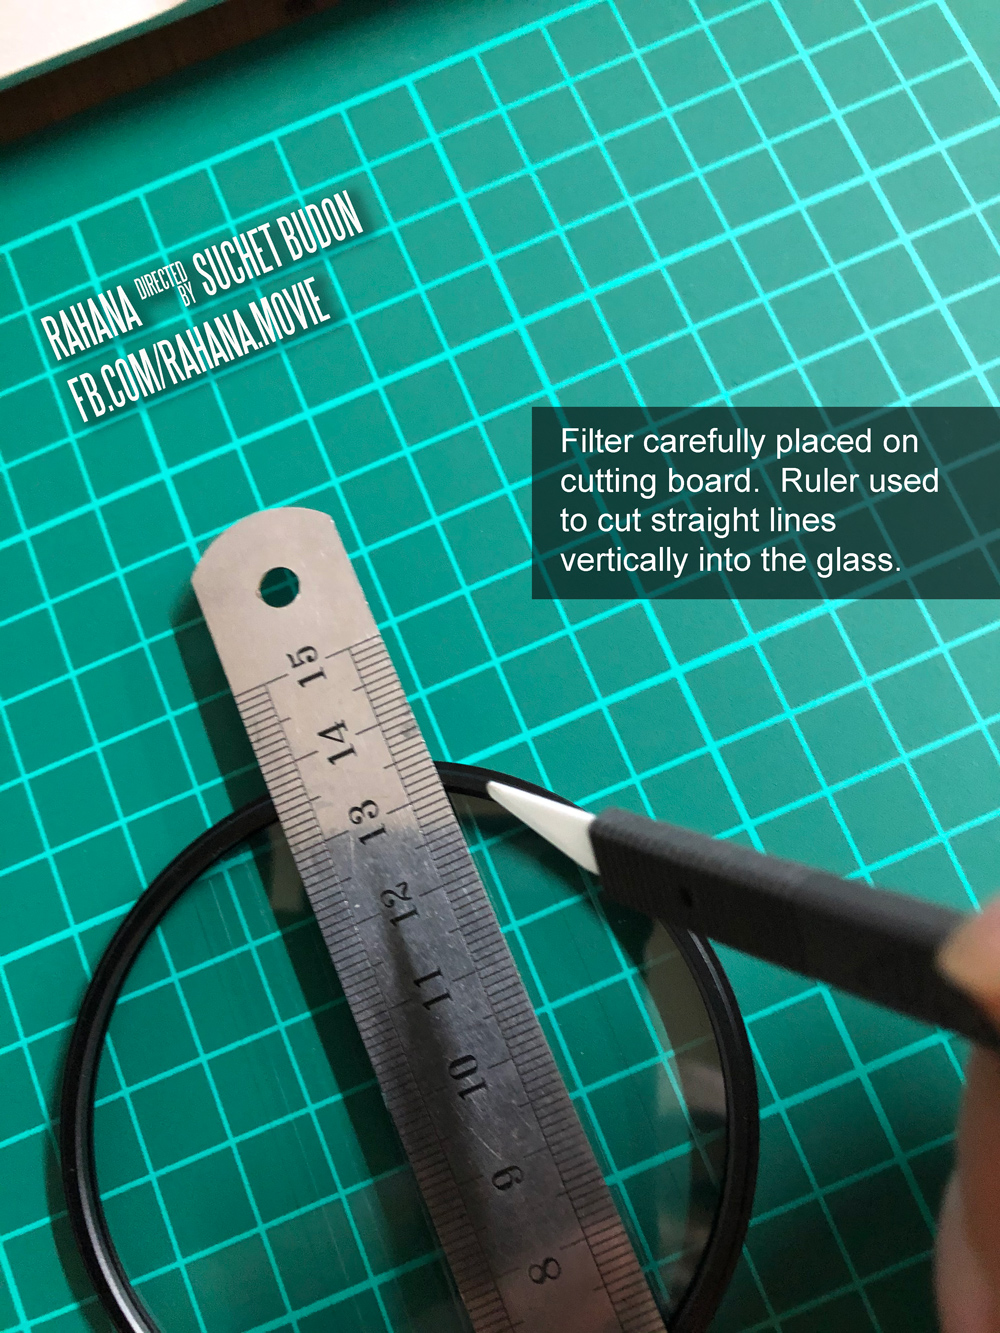
Use a nice cutting board and a good cutting blade – These can be found at reasonable prices on Amazon.
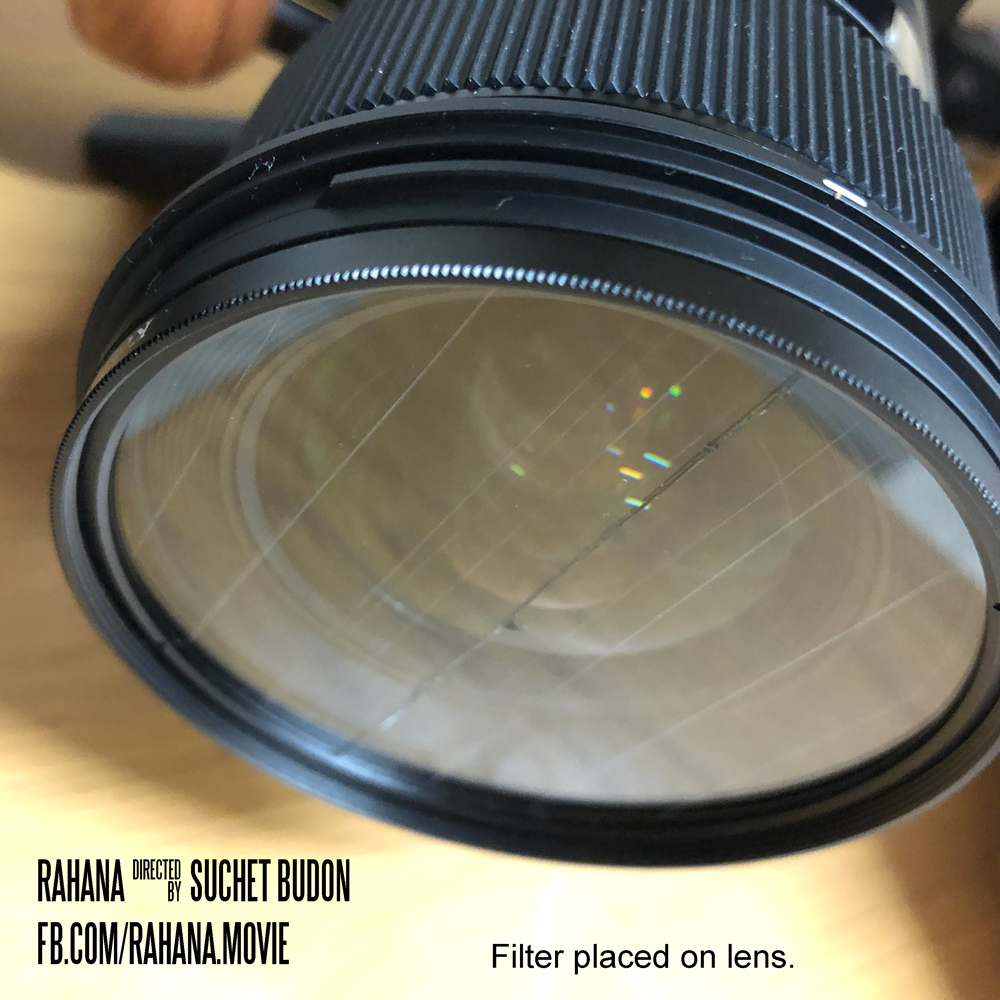
The lines on the filter have to be vertical, going down towards the ground. So to make things easier try the filter on the lens first until it fits in the spot you want it and use a marker to mark the top of the rim of the filter on the lens (be careful not to mark the filter glass.) – You don’t need to do this bit if you are confident where the lines should be, this just makes it easier for when you place it on the board, to show you which direction the lines are going to go.
Take the filter off and put it on the cutting board and use the ruler to cut straight lines parallel to each other – You can cut as many lines as you can, it doesn’t have to be precise – I have them about 2 or 3 mm apart but you can vary the sizes as you see fit.
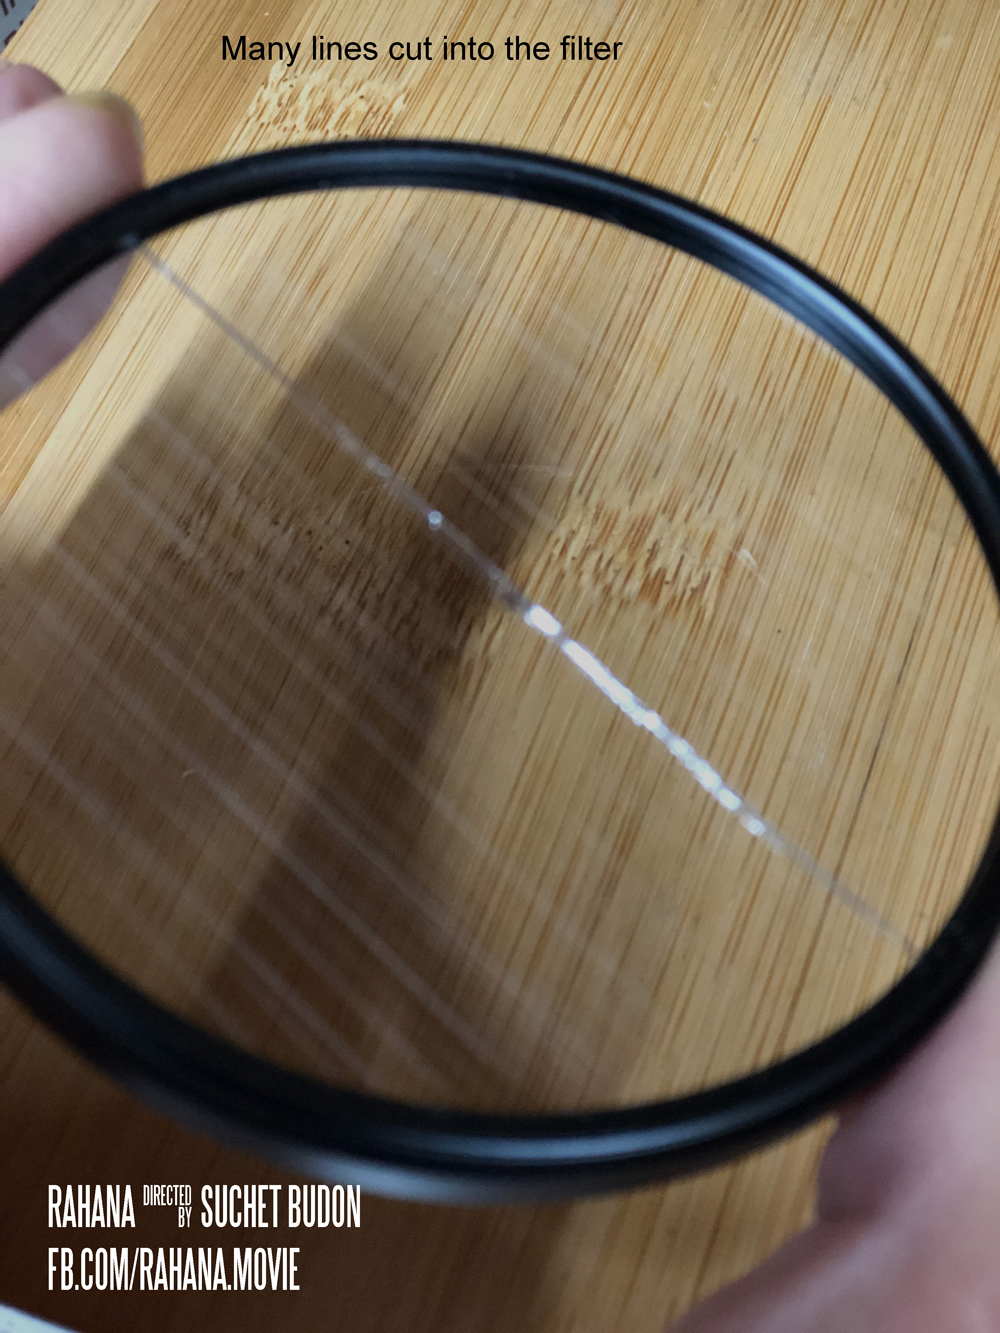
Once you have finished cutting your lines into the filter, screw it onto the lens as I have done here with the lines facing upwards/downwards and start filming!